12 Creative Christmas Activities for Kids

Medically approved by
Quality time is precious over the holidays. It’s what kids remember long after they tire of their material gifts. And it’s even more special when the family comes together in a creative pursuit. We’ve compiled a range of creative Christmas activities to match a variety of interests, ages, and attention spans for inspiration. Most require only a few ordinary supplies that you probably already have around the house, or can easily run out and get.
From festive, healthy recipes to easy DIY crafts, these ideas are all simple, screen-free, and sure to create lasting memories:
Irresistible crafts for kids of all ages
If you’re daunted by the idea of crafting with your kids, you might be overthinking it. There are plenty of festive crafts and decorations you can create with little prep (and yes, minimal mess), using just basic supplies you likely have around the house.
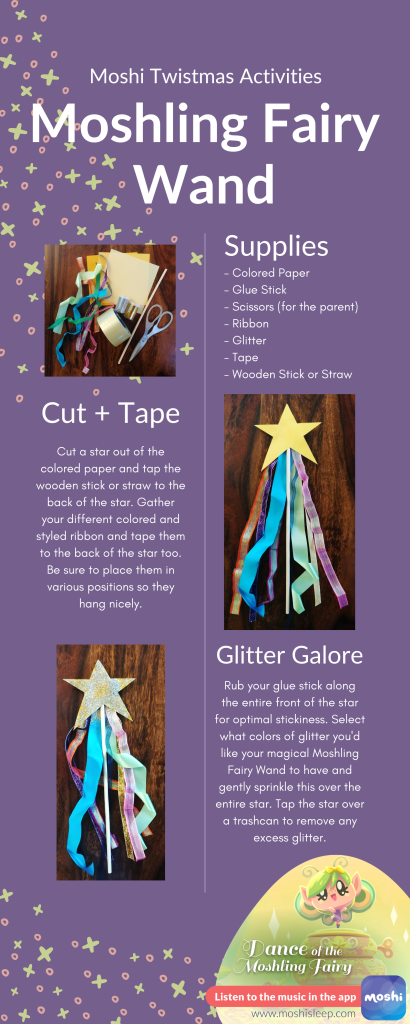
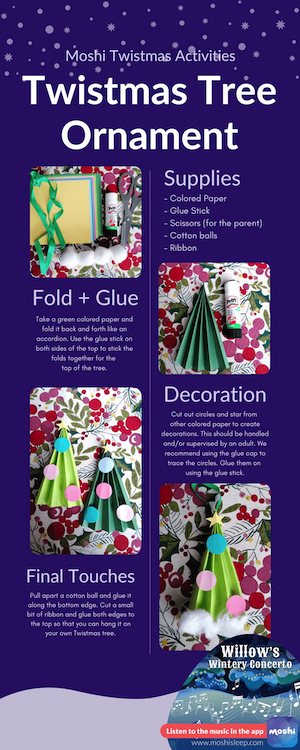
When you craft with kids, you engage their creativity and create homemade keepsakes that loved ones will cherish forever. With our simple ideas, kids can transform pretty ribbons into a magic wand like the Moshling Fairy’s and create a festive Christmas Tree ornament using ordinary materials.
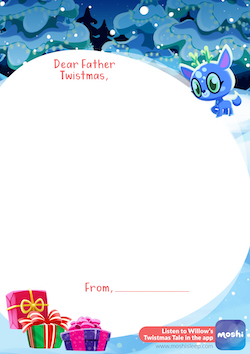
Kids will also be inspired to practice their penmanship, with the hope of a return on their effort: Our printable letter template lets them direct their handwritten gift requests to Father Christmas and Willow the Dainty Deer. (And if parents read it too, we won’t tell!)
Supplies
– 1 paper plate
– Blue, grey, black, white, and pink colored paper
– Scissors
– Glue stick
– Black felt tip pen

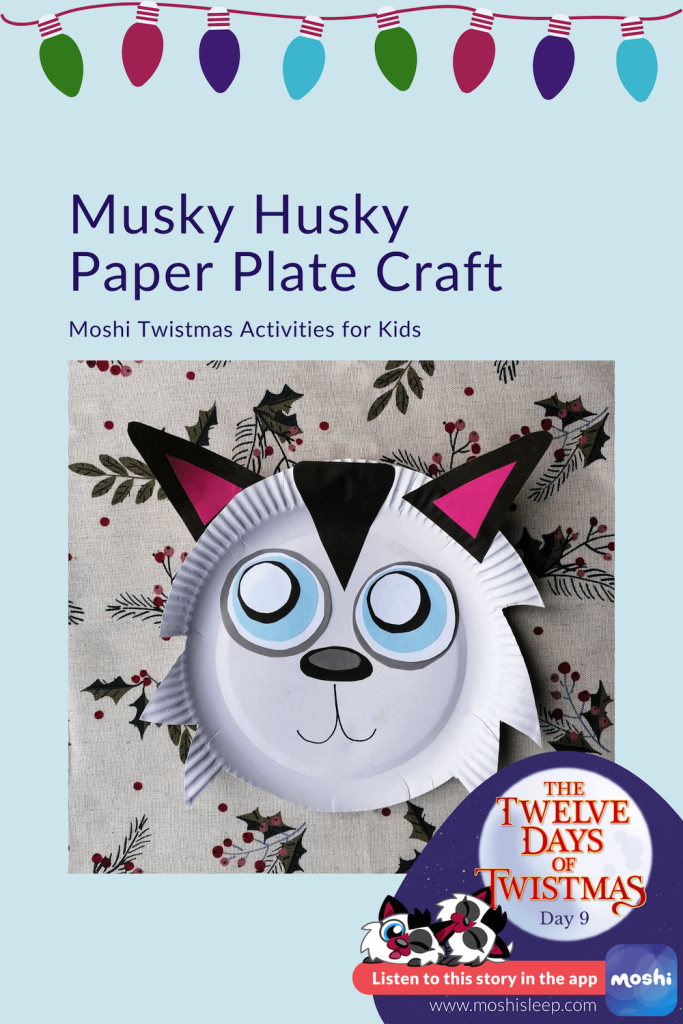
Cut three triangles out of the black colored paper for your husky’s ears and head stripe. Cut two smaller triangles out and glue them in the middle of two black triangles. Cut an oval out of the black paper and a smaller oval out of the grey, then glue the grey oval onto the middle of the black one for the nose.
Now for the eyes! Cut two large circles out of the grey paper for the base of the eyes. Next you’ll need two circles that are a slightly smaller cut from the white paper. Then another two slightly smaller than the white cut from the blue paper. Two more circles will be needed from the black paper that are a little smaller than those from the blue. And finally, two small circles cut from the white paper again that are the smallest in size. Glue the large white circles into the middles of the grey circles, then glue the blue into the middle of the white.
Next, you can have a bit of fun with where you want to place the final black and white circles for the eyes. We chose to glue the black circles on top of the blue circles shifted to the top right to make our husky look upwards, but you can place yours anywhere you’d like! After the black circles are glued down, be sure to glue the final small white circles in the same direction you chose to glue the black to finish off the eyes.
To create the shape of your husky’s head, cut two triangles out from opposite sides of the paper plate and the out crimped edge on the bottom of the plate (see final image for reference).
Glue the left over black triangle at the top of the paper plate in the middle to create the head stripe of the husky. Glue one ear to the left side of the stripe and behind the top edge of the plate, and one to the right but on top of the edge of the plate. Glue down your eyes on either side of the tip of the black stripe and glue the nose down.
Finally, take you black felt tip pen and draw on the little mouth of the husky
Supplies
– Brown finger paint (make sure it’s safe for kids)
– Paintbrush
– Blue colored paper
– Red felt tip pen
– Gold glitter glue
– Cotton balls
– 1 googly eye
– Glue stick
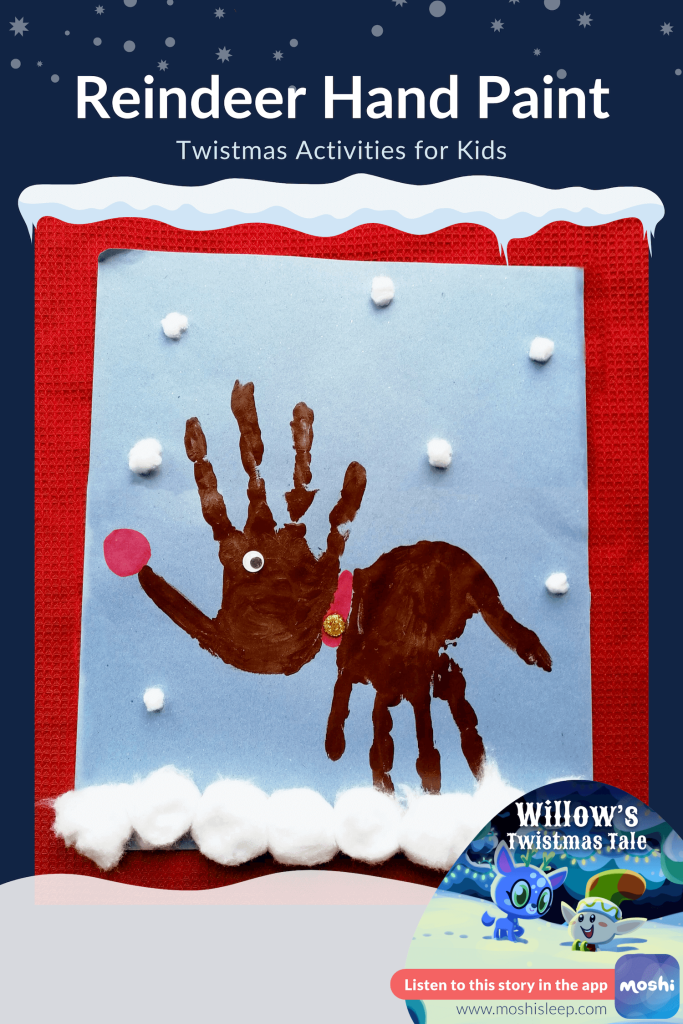
With the brush, paint your little one’s hand with brown paint and with their fingers apart place it on your paper. Repeat again with the same hand, but turn the paper so their fingers will be pointing in the opposite direction.
After the pain has dried, use the red felt tip pen to draw on the red nose and the reindeer’s collar. Use the gold glitter glue to make a shimmering circle for the bell on the collar.
With the glue stick, glue your google eye down so the reindeer can see. For some added wintery fun, glue some cotton balls along the bottom of the painting. Be sure to leave at least one cotton ball left so that you can pull it apart and glue it around the reindeer to create falling snowflakes.
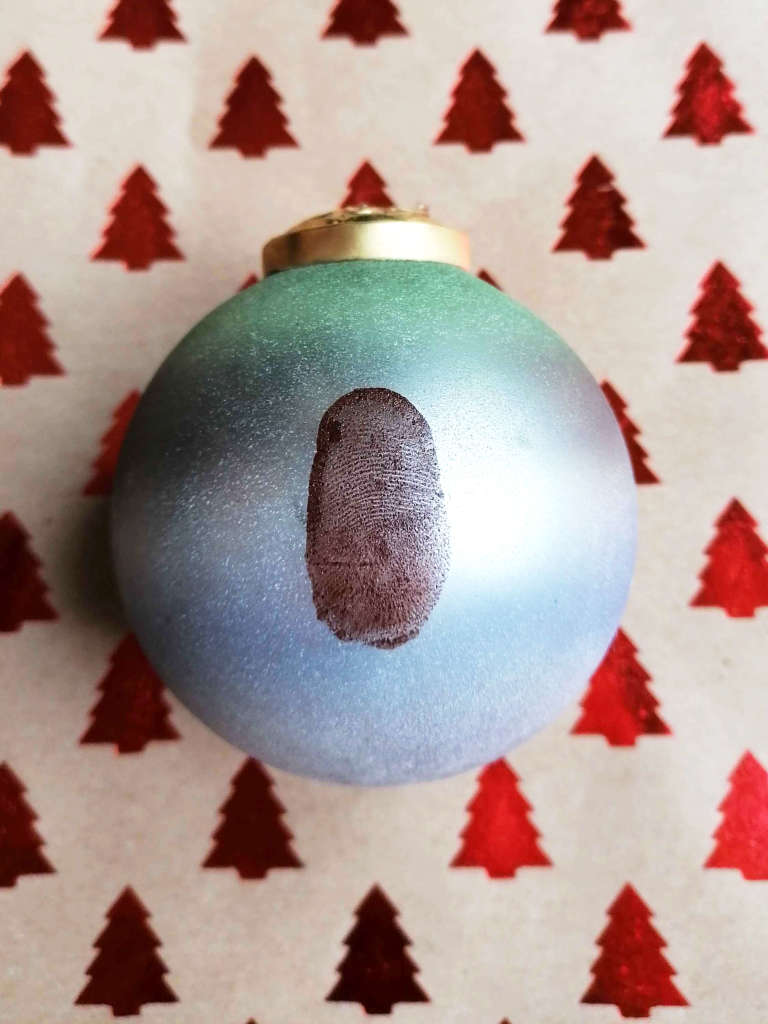
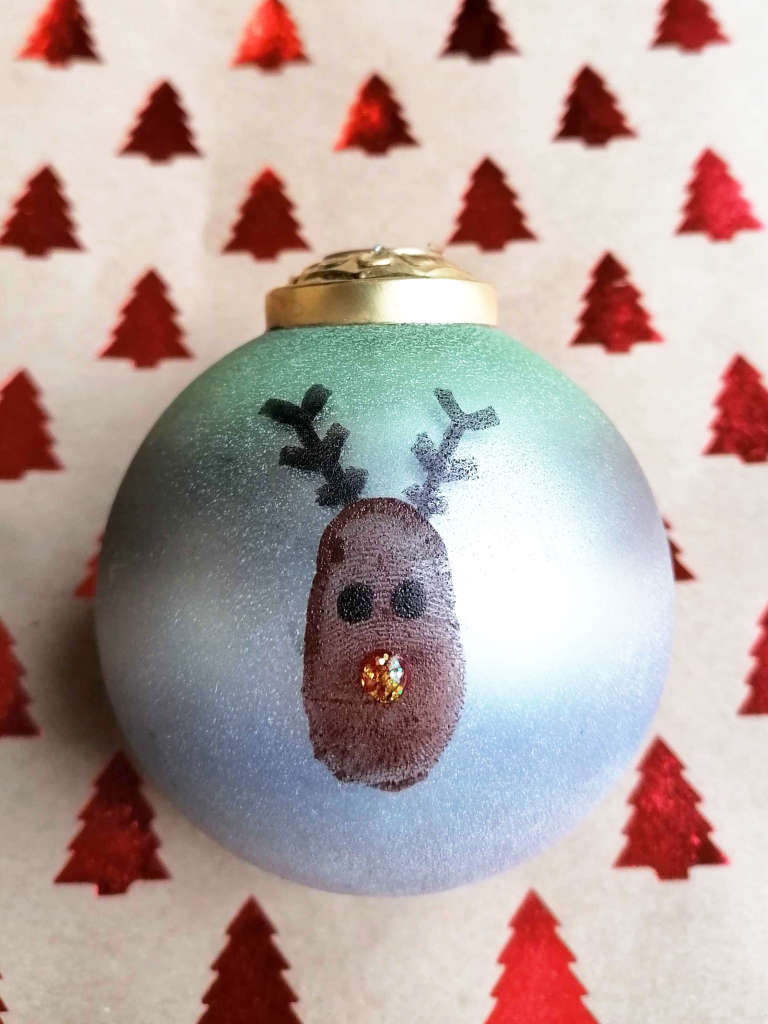
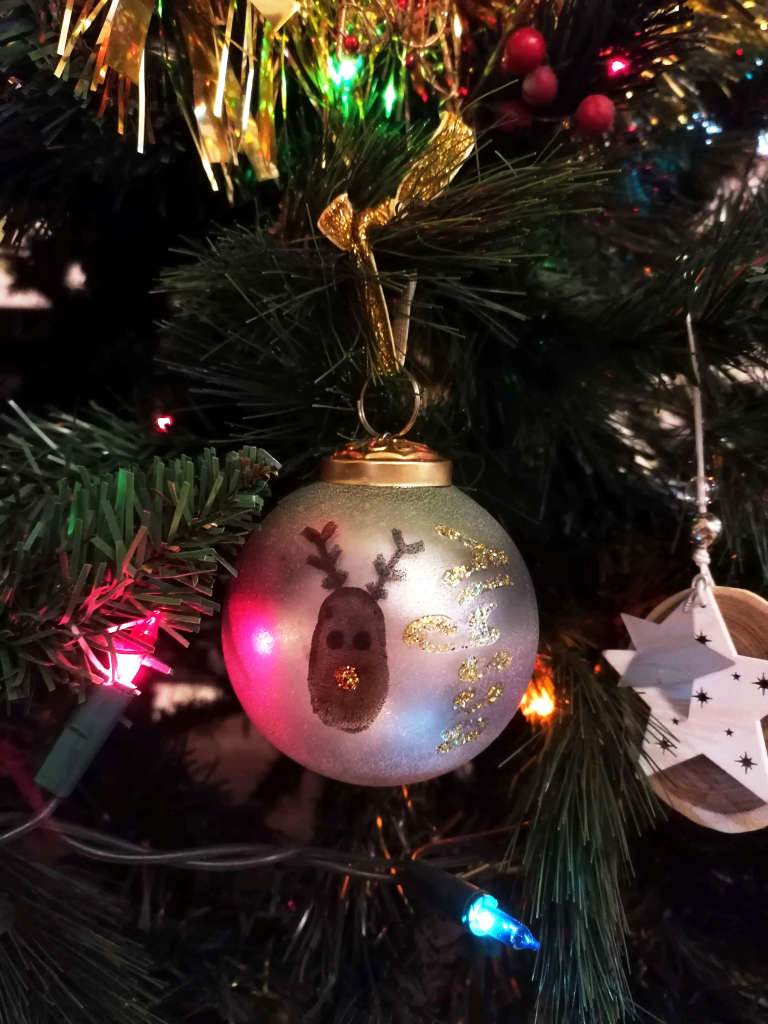
Twistmas Tree Personalized Reindeer Bauble
Supplies
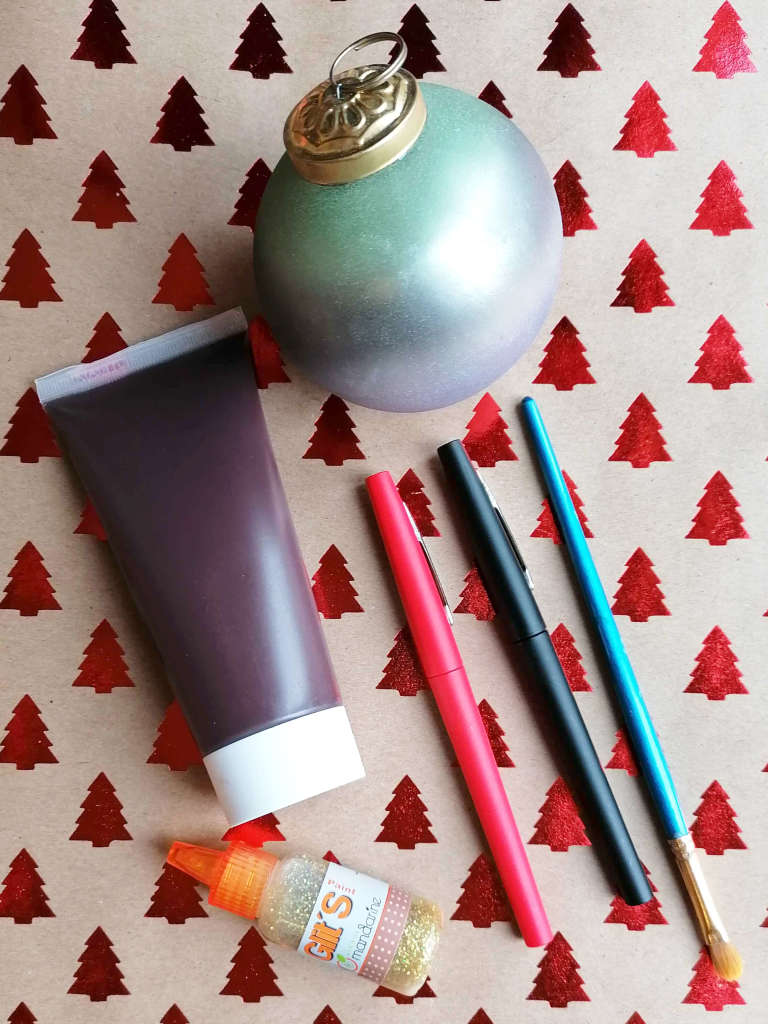
- 1 bauble (sphere ornament)
- Brown paint
- Paintbrush
- Red felt tip pen
- Black felt tip pen
- Gold Glitter Glue
Instructions
Use the paintbrush to brush the brown paint onto the pad of your little one’s thumb. Carefully place their thumb onto the bauble to stamp their thumbprint. After the paint has dried, use the black felt tip pen to draw on eyes and antlers. Use the red felt tip pen to draw a red nose. To make the nose shimmer, cover the red circle you’ve just made with the gold glitter glue.
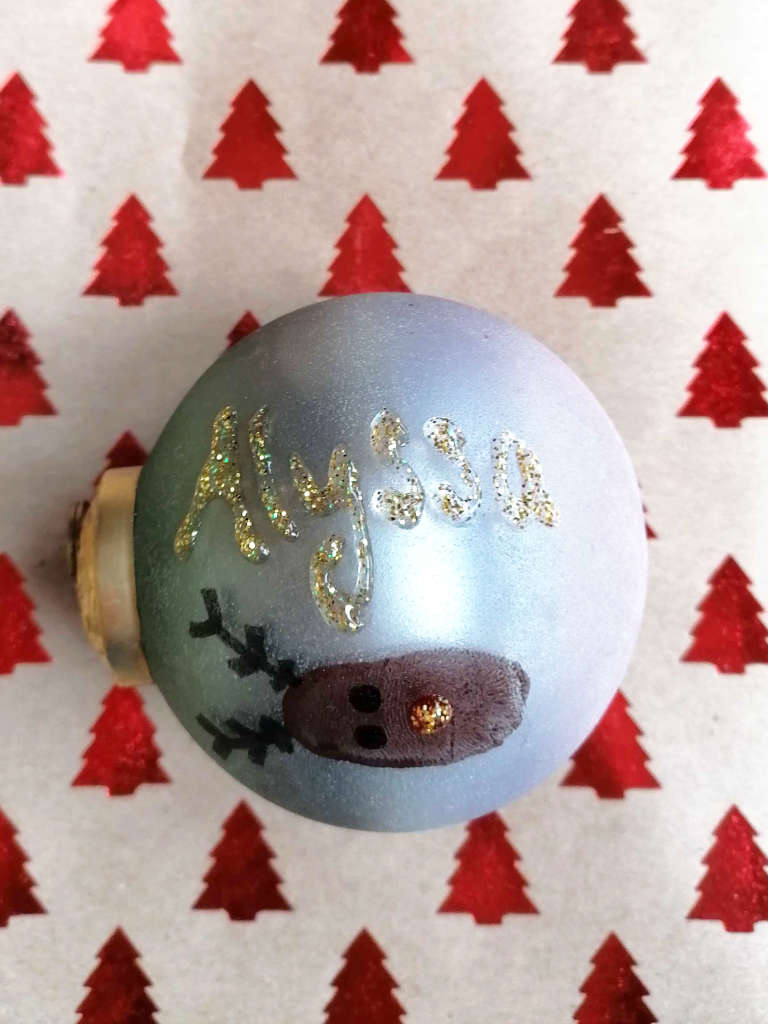
To add another level of personalization, write your little one’s name alongside the reindeer using the gold glitter glue.
Letter to Santa
Christmas coloring sheets to put minds to ease
Even the littlest kids can have fun (and practice their fine motor skills) while they color. Print out our free Moshi coloring sheet and set out crayons, markers, or colored pencils to bring to life the whimsical characters from Moshi.
Coloring isn’t just a fun and relaxing activity for kids, but a therapeutic mindfulness practice for family members of any age. You can make coloring time even more meditative by playing a soothing background soundtrack. Moshi’s soothing stories, music, and meditations add a dose of mindful magic to this Christmas activity.
Healthy holiday recipes to make as a family
When you introduce kids to cooking and baking during the holiday season, you kickstart a cherished association they’ll never forget. These easy recipes are created just for kids — easy to make with wholesome ingredients.
Turn strawberries into Father Twistmas figures; bananas into penguins; and kiwis into festive Christmas trees. And don’t forget to empower them to add their own flourishes. As you cook, encourage them to taste, smell, and touch the ingredients — these are all ways to learn!
Peppy the Penguin Snack
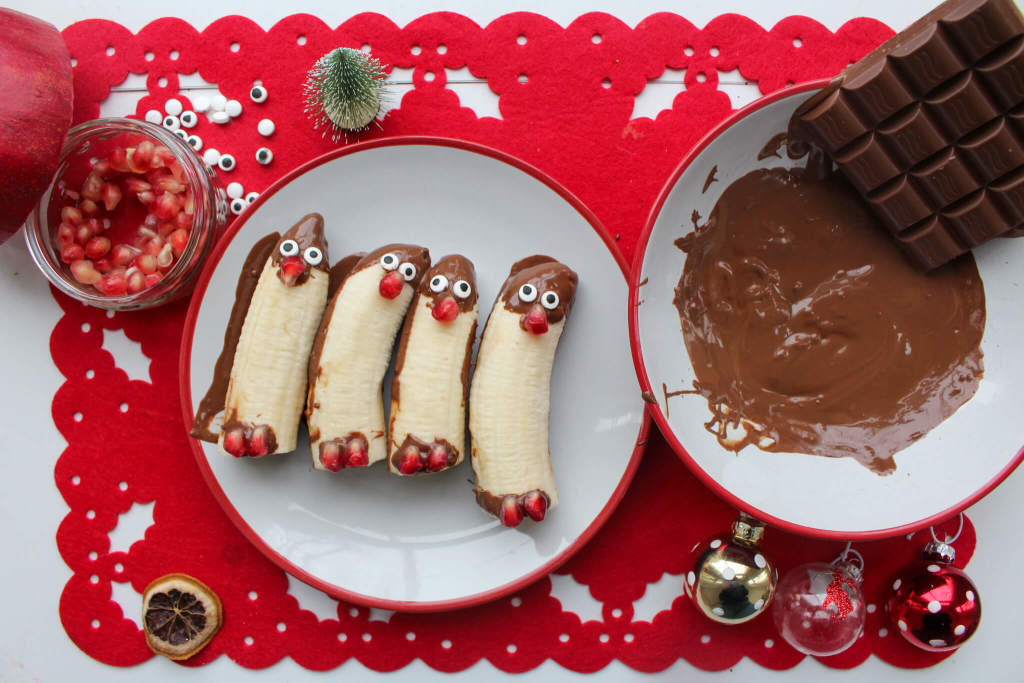
Ingredients
- 2 Bananas
- Dark Chocolate
- Pomegranate Seeds
- Candied Eyes or Dark Chocolate Chips
Directions
Cut the bananas in half to form the bodies. Melt your dark chocolate in a microwave-safe dish. Cover the back half, top, and bottom of the banana with melted dark chocolate.
Place the candied eyes and pomegranate seeds (1 for the beak and 2 for the feet) onto the chocolate while the chocolate is still wet. Place the penguin snacks into the fridge on a piece of baking paper (baking paper helps the dark chocolate stay in place) and allow 10 minutes for the chocolate to solidify before serving.
Father Twistmas Strawberries
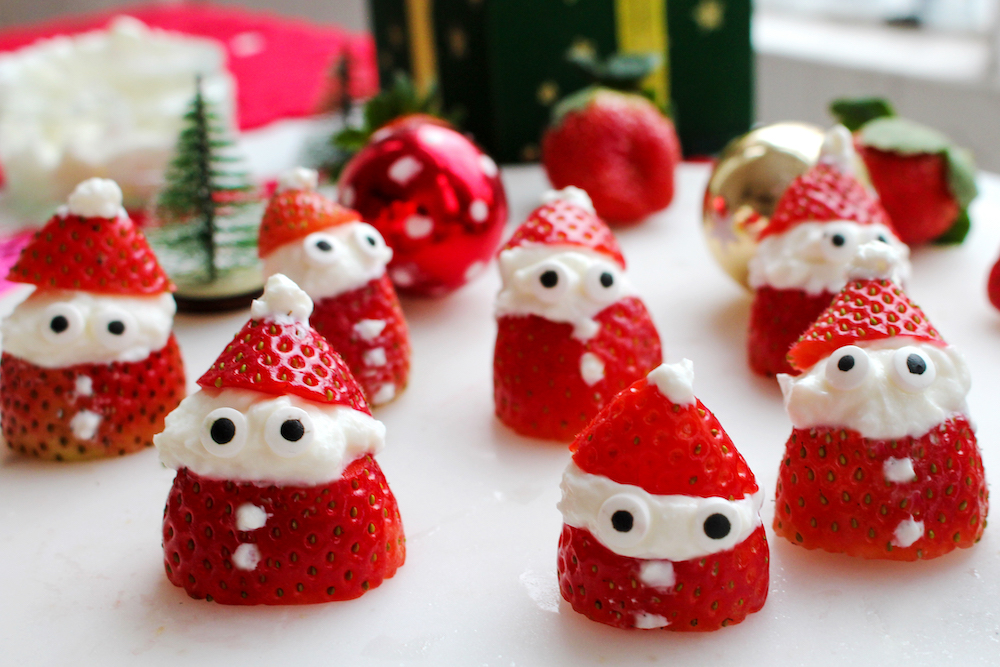
Ingredients
- 1 basket of strawberries
- Yogurt of your choice
- Candy eyes or dark chocolate chips
Directions
- Cut the stalk off the top of the strawberries and then cut the tips off for Father Twistmas’s hat.
- Place some yogurt on the end to make the beard. Put the tip back on to make the hat. Add a small dollop on top of the tip for the hat pompom and 2 small circles on the base for buttons.
- Place on your candy eyes or dark chocolate chips to complete Father Twistmas!
Frostipop Porridge
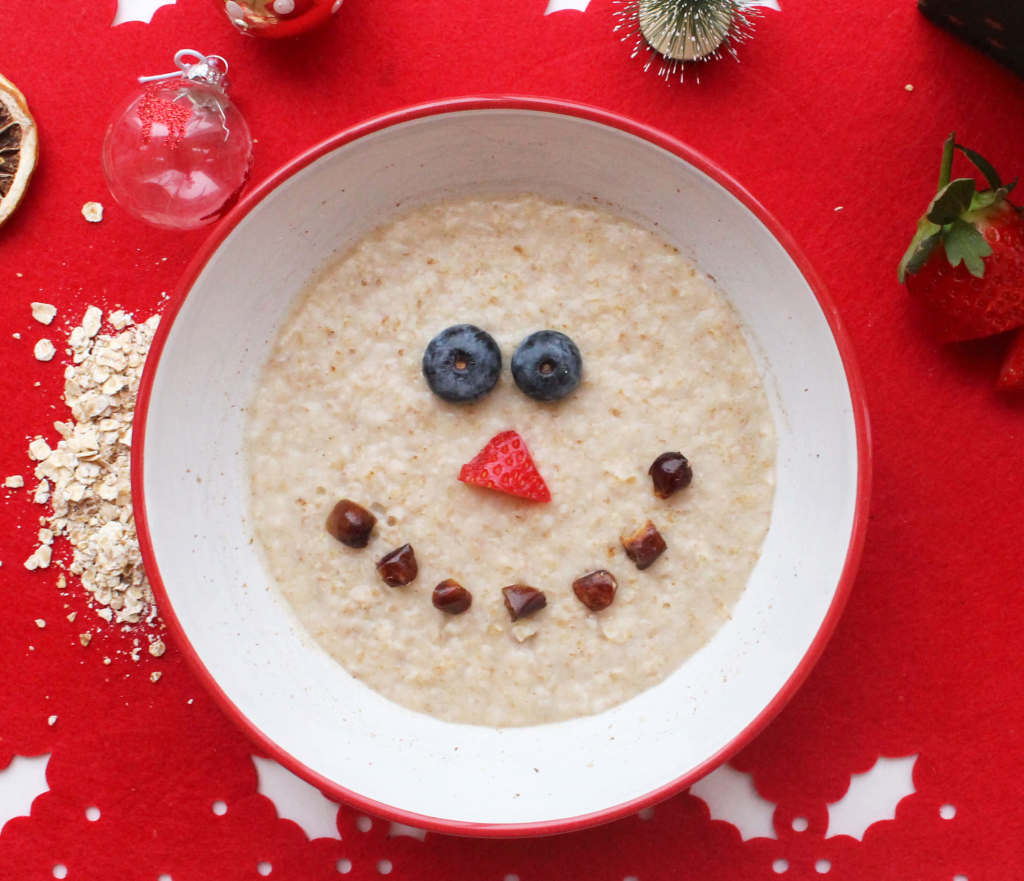
Ingredients
- Porridge or Oatmeal
- 1 Strawberry
- 2 Blueberries
- Handful of raisins
Directions
- On top of your porridge, place two blueberries for the snowman’s eyes.
- Cut the tip of the strawberry and place it in the middle to make the nose. Add some raisins to make his smile!
Waffle’s Wintery Toast
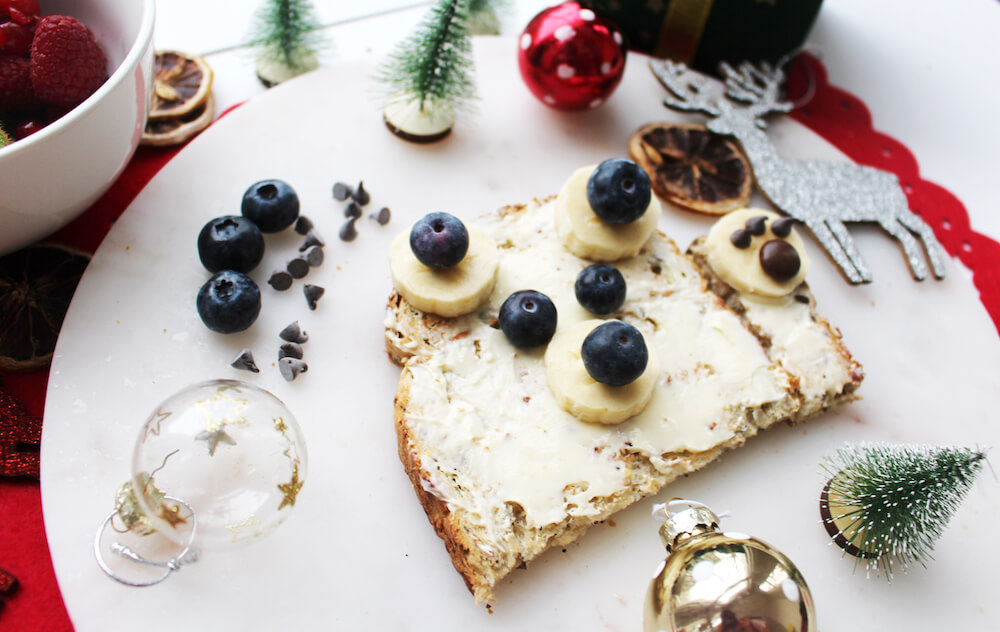
Ingredients
- 1 slice wholemeal bread
- 1 banana
- Dollop of cream cheese
- Handful of blueberries
- Dark Chocolate chips
Directions
- Use children’s scissors to cut the bottom 1/4 off to use as an arm for your Polar Bear. Spread the cream cheese on the bread.
- Slice the banana and use two slices for the ears, one for the nose, and one for the paw.
- Add some blueberries on top of the bananas and two more for the eyes.
- Add some dark chocolate chips for the paw.
Christmas Fruit Salad Tree
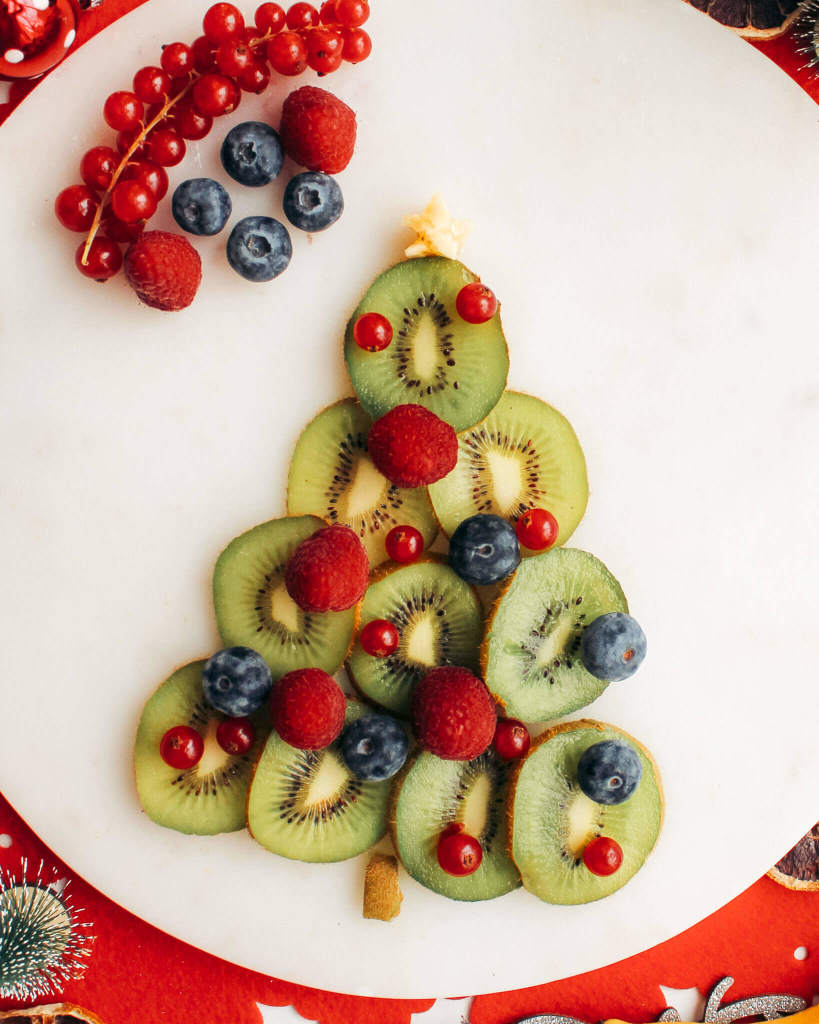
Ingredients
- 1 to 2 Kiwis
- Handful of berries
- Half a banana
Directions
Slice the kiwi and place them in a triangle to make the tree. Place a handful of berries to make the baubles and from a slice of banana cut a star shape. You can use a bit of the Kiwi to also make a base for the tree.
For more help spreading joy this holiday season, check out our gift guide for busy moms.
